This project implements the logic for recognizing, storing, solving and visualizing a cube.
You can see the robot in speed up action here:
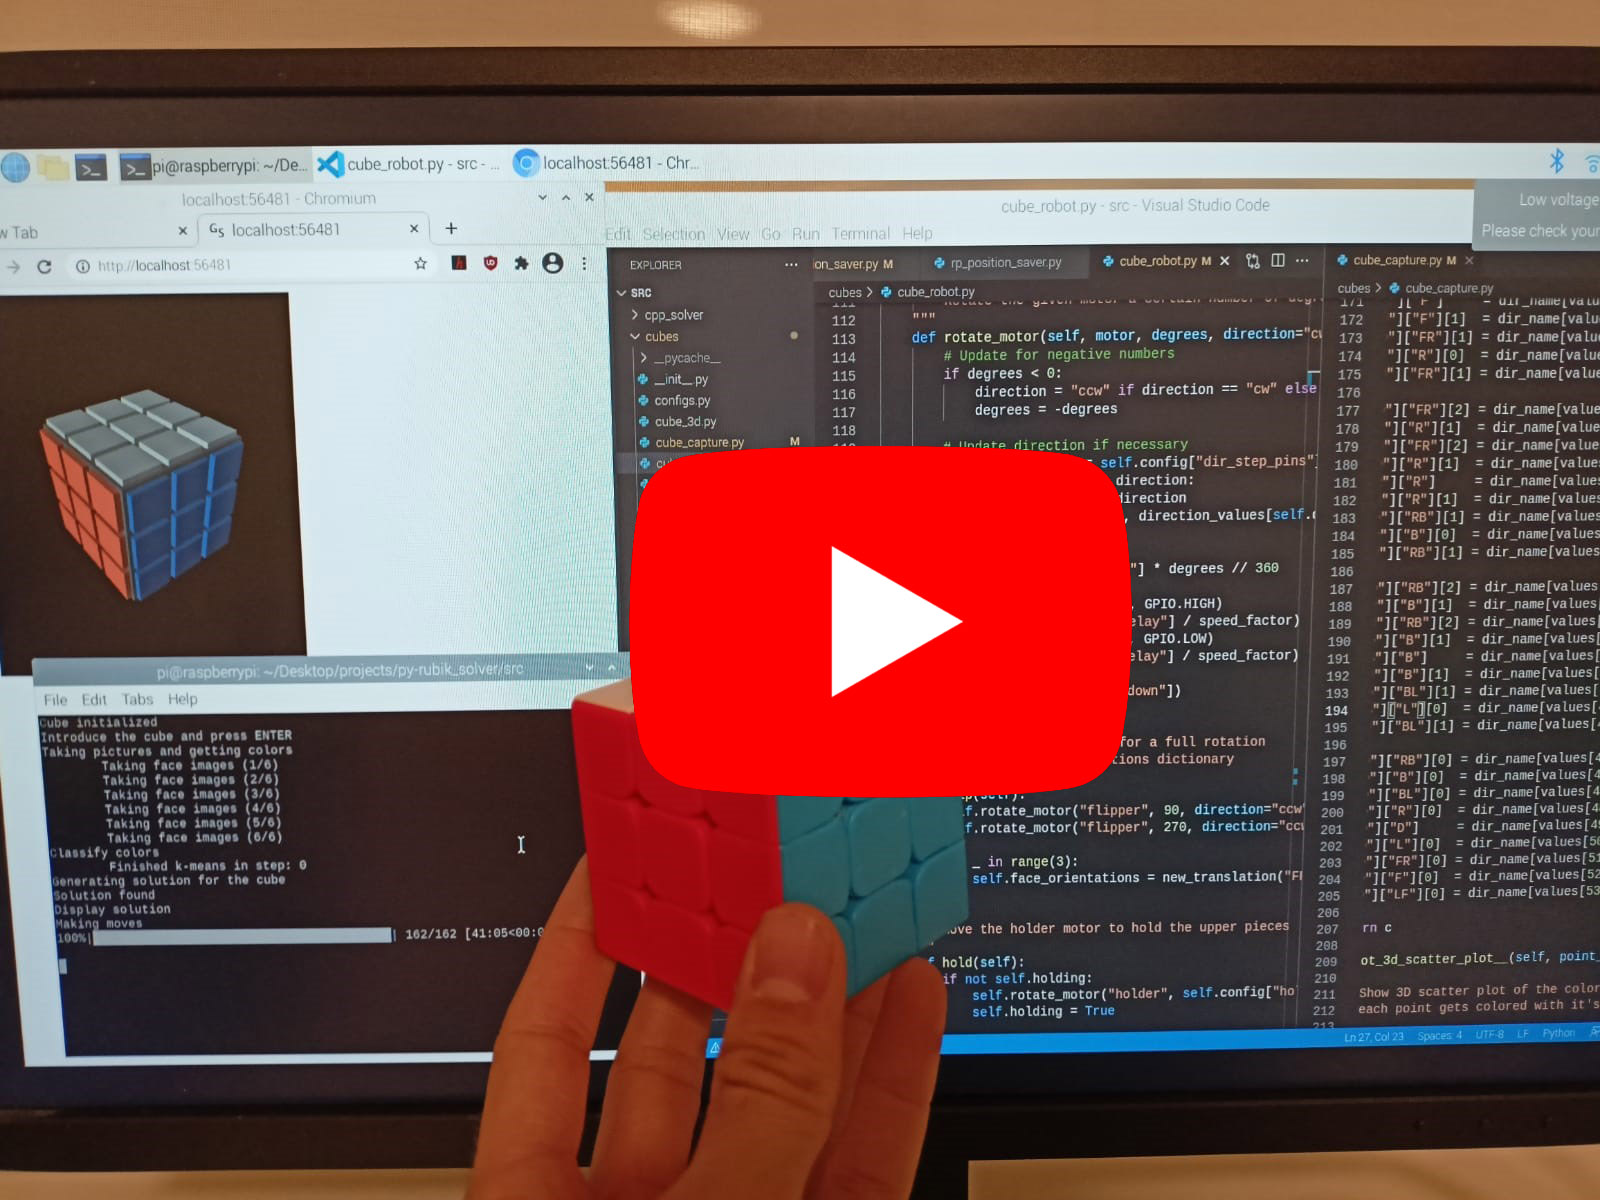
Or die whatching the raw full 43 minutes it takes to fully solve the cube here:
To use this program you need to execute the following commands inside de src folder
-
For detecting the cube colors from a web cam and solving the cube:
python detect_and_solve.py -
For visualizing a solution of a randomly scrambled cube:
python visualizer.py -
For getting some statistics:
python stats.py
This project has been developed in python 3.8.10 but there is no reason it shouldn't work in python 3.7 or later. You will also need a recent version of numpy, tqdm and vpython 7 or later, those can be installed with:
pip install numpy vpython tqdm
This project is divided in three different directories:
- cubes/ which contains all the logic for storing, visualizing and moving a cube
- saved positions/ used to calibrate the raspberry pi camera
- solvers/ where I store the different solvers I've implemented
And three main files:
- detect_and_solve.py: used to detect a cube with a webcam, find a solution and move the cube to finally solve it.
- stas.py: used to calculate some statistics about the different solvers, their speeds and the average number of total moves used.
- visualizer.py: used to scramble a virtual cube, find a solution and display the cube and the moves until the cube gets solved.
This file contains general configuration parameters mostly related to the default visual representation of the cube:
- The default colors
- The number of fps
- The time taken to reproduce each move
- Time to wait between moves
- Speed factor
- And more
This file contains the Cube class, which implements a data structure for storing the pieces of the cube and some functions for rotating the faces of the cube. It also implements the possibility to shuffle the cube on creation and the possibility of recording a list of moves made in the cube, this is used for generating a solution.
The main functions implemented in this class are:
-
move(move, n=1, record=True): where move should be a string representing the face to move and n is the number of 90 degree rotations to perform (2 is half turn and 3 or -1 is a turn to the other side). The codes used for the move are:- "U", "F", "R", "B", "L", "D" for individual faces.
- "UD", "FB", "RL" for the middle faces.
- "UU", "FF", "RR" for rotations of the whole cube along this axis.
-
rotate(axis, n=1): this has the same effect as usingmovewith "UU", "FF", "RR" but these moves are never recorded. -
is_solved(): checks whether the cube equals the solved cube. Keep in mind that this function will returnFalseeven if the cube is solved but faces a different way. -
copy(): creates a deep_copy of the cube. The copy is completely independent of the original cube.
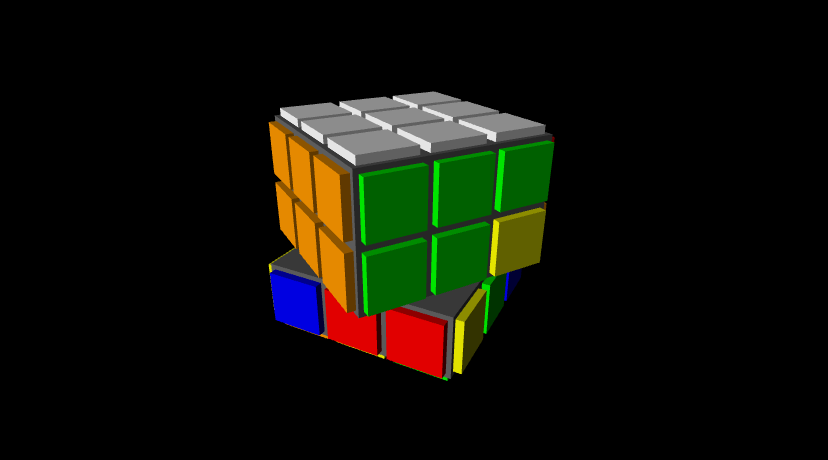
This file implements the Cube3D class, which directly inherits from the Cube class. This class overrides the __init__ and move functions to first create all the cubes necessary to represent the rubiks cube in 3D and then animate them each time any face is moved.
This file contains:
- An implementation for the
k_meansalgorithm. This is an unsupervised learning algorithm used to classify the colors of the 54 stickers of the cube and separete them in 6 groups of 9 colors each, one group for each face. - The
CubeCaptureclass, which contains the logic for capturing the cube using the raspberry pi motors and webcam. The main method this class contains is thecapture_cubemethod, this method takes care of calling the appropiate methods for:- Rotating the cube and taking the photos
- Extract the colors from the center of the faces in the photos
- Plot this colors on a 3D scatter plot if debug mode is enabled
- Classify this colors using the
k_meansalgorithm in 6 groups - Generate a cube structure from this classification of the colors
This file contains the CubeRobot class, used to setup and move the motors on the raspberry pi. It encapsulates the motors movements in the method move, which is equivalent to the method move of the Cube class.
It also contains some configuration parameters related to the physical robot, like the numbers of the pins the motors are connected to, the speed of the movements and more.
In this file we store different lists and dictionaries used in the project such as a solved cube structure, a list of the directions, a function for generating random moves, ...
This directory is simple, it just contains the position_saver.py file, which is used to calibrate the position of the faces seen by the camera. You just run it from the main folder with python saved_positions/position_saver.py, double click on the center of each piece, hit space to save the changes to position_01.npy and hit Esc to quit.
This file implements the CubeSolver class, which acts as an abstract class for all the other solving algorithms. It only takes care of taking some measures for statistics.
This is the first solving algorithm implemented, it's the usual beginer algorithm for anyone learning how to solve the rubiks cube. It's implemented on a really naive way, and it's far from optimal in terms of the number of steps of the solution. It was just a proof of concept and my goal is to implement a better, more efficient version of this class in the future.
In my personal computer this algorithm takes 1.78 ms on average to compute a solution, and the solutions have 205.6 steps on average. Again these results are far from good, but this was just a proof of concept.
The process of the algorithm is separated in different steps, which are:
- solve_first_cross: solves the cross on the UP face
- solve_first_corners: solves the corners on the UP face
- solve_second_row: solves the second "crown" or the second row
- solve_second_cross: creates a cross on the DOWN face
- orientate_2nd_cross: positions correctly the pieces inside the cross on the DOWN face
- solve_second_corners: positions correctly the corners in the DOWN face
- orientate_2nd_corners: rotates correctly the corners in the DOWN face
- reorient_cube: rotates the whole cube so that the UP face is facing up and the FRONT face if facing front
This file implements an optimization of the simple_solver, it just takes the simple_solver solution, eliminates the full cube rotations and simplifies the movements that can be unified.
This file just implements iterative deepening depth first search, a path finding algorithm to find the fastests secuences of moves that should be taken to reach a goal. This is a brute force algorithm and it would take ages to find the fastest solution for a cube, instead this is used by the thistlethwaite's algorithm.
More information about how this algorithm works can be found in the references.
This is an unfinished file, my idea was to implement this algorithm, but after some testing, python is too slow to run this algorithm in a reasonable amount of time. That's why I decided to implement a cpp version of this algorithm, but the cpp version just didn't work on the final step so, since I was running out of time, I decided to keep the naive raw simple_solver approach. Of course anyone is encouraged to try an implement the test functions for the first 3 solving groups.
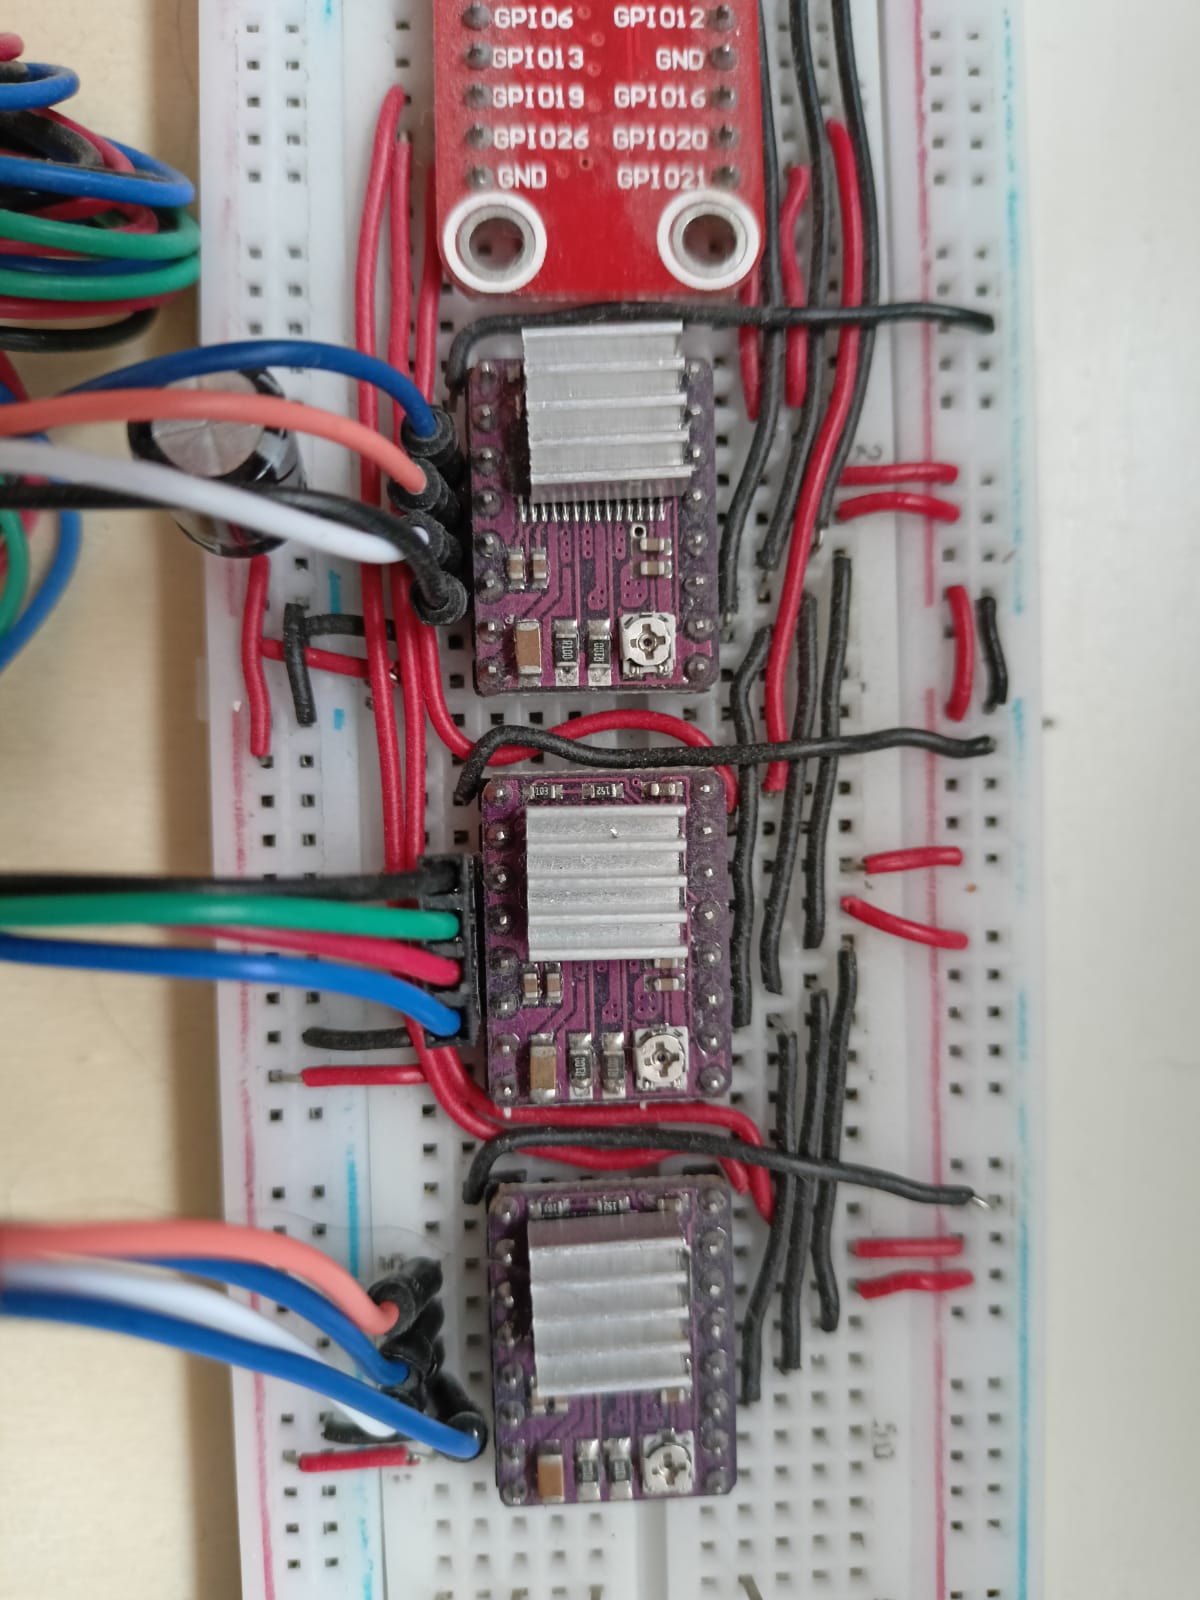
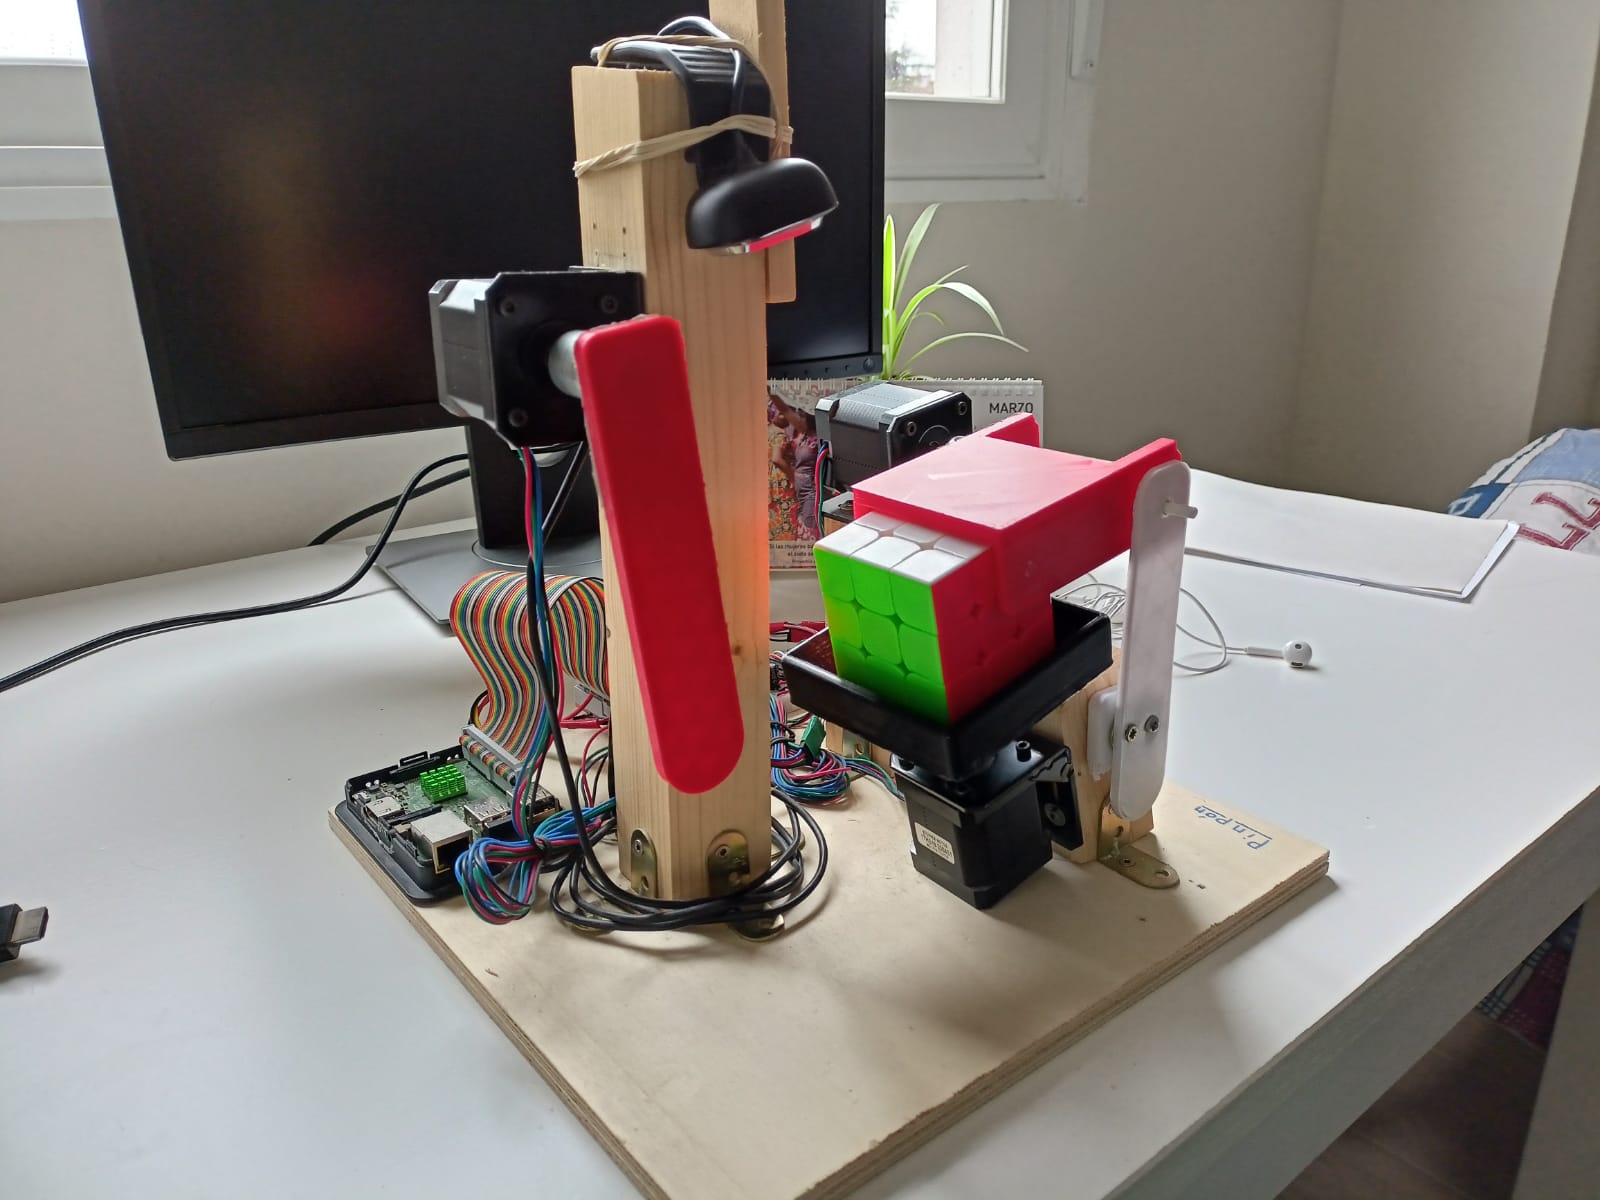
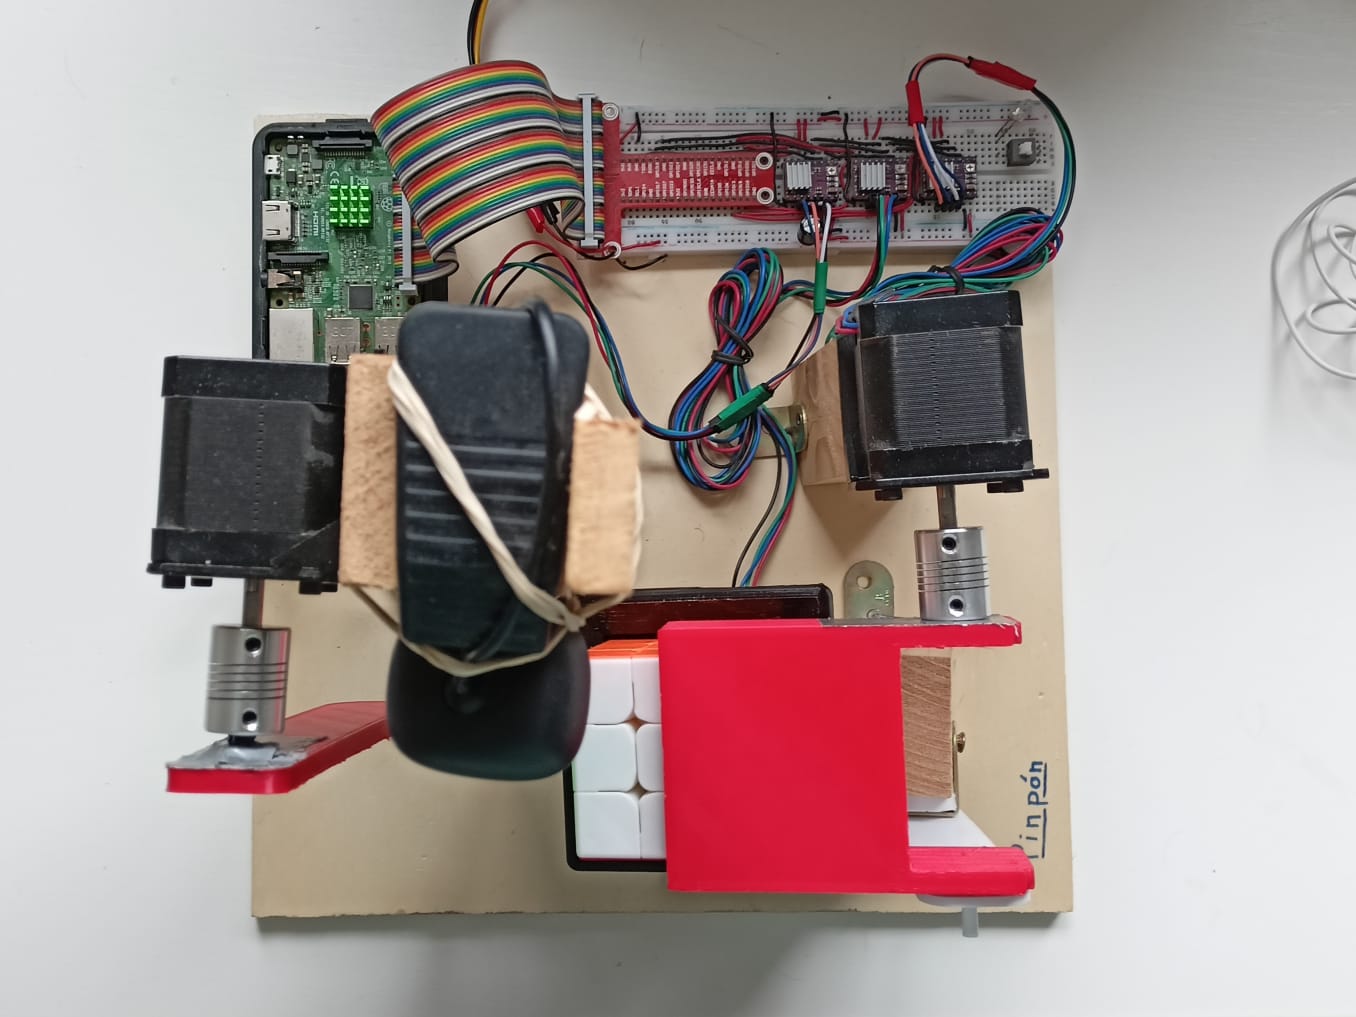
For this project I used:
- A Raspberry pi 3 model B v1.2
- 3 stepper motors (17HS19-2004s1)
- 3 step motor drivers (DRV8825)
- A usb webcam
- A 12V power supply for the motors
- A 100uF capacitor
- A breadboard and wires
- Some adaptors to connect the motors to the pieces
- 3D printed parts (available in the stl/ directory)
- Wood and screws
For the wiring I followed this 2 tutorials:
Interesting video on rubik's cube solving algorithms https://www.youtube.com/watch?v=ZtlMkzix7Bw
The implementation the guy on the video made https://github.com/benbotto/rubiks-cube-cracker
His medium post https://medium.com/
Further information aboutn the thistlethwaite algorithm can be found in his GitHub readme, and post.
The idea for the robot I got it from here
There obviously are more efficient data structures to store the cube, faster algorithms to solve it, better physical robots. This is just the approach I found most intuitive and the one I decided to take the challenge and actually code it. Any improvement on this code and design is more than wellcome.
Use this code as you wish, just let me know if you do, I'll love to hear what you are up to!
If you have any doubts/comments/suggestions/anything please let my know via email at polqb2000@gmail.com or at the email in my profile.