Adafruit IO connected smart thermostat based on CircuitPython.

Overview

Adafruit IO Thermostat

Adafruit IO connected smart thermostat based on CircuitPython.

Background and Motivation

I have a 24 V Heat-only system with a 2-wire system (No C-wire, only R and W). It used a manual Honeywell single-point thermostat. I wanted to get the functionalities of a smart thermostat (potentially HomeKit compatible) without the hassle of installing a C-wire myself or having to buy with expensive smart thermostats. So I created a simple smart thermostat with an Wi-Fi capable microcontroller.

Hardware

I used a Adafruit ESP32S2 Feather board, along with a TMP36 analog temperature sensor, and a simple non-latching relay.

I wired up the TMP36 to an analog input pin (A5) and the relay to a digital pin (D10), and connected the relay to the R and W wires in my heating panel in the NO mode i.e when the relay is off, the heater is also off. The circuit diagram is given below.

This image shows how the components are wired to the microcontroller board.

Flasing the Code on the Microcontroller

As is with any CircuitPython device, you just need to copy the contents of the src folder to the root directory of the CIRCUITPY drive. If you're using a different board, or different pins, or components (say, a digital temperature sensor), the relevant code is in src/code.py for you to change. Remember to enter the credentials for your Wi-Fi and Adafruit IO account in src/secrets.py.

I have included the prerequisited for my board in the src/lib folder. For a different board, you might need some more extra libraries.

The code should "just work", however, this is rarely the case with hobby electronics; so use your judgement and a lot of testing to make sure to not fry your home heating system. I provide no gurantees whatsoever. However, feel free to file issues for important things!

Setting Up Adafruit IO

Below is a set of brief steps to setup your Adafruit IO accoount to interface with your smart thermostat.

  1. Setup an Adafruit IO account.
  2. Create the following feeds:
    1. config: This is to configure the status of your smart thermostat (0 = OFF, 1 = SINGLE POINT, 2 = DUAL POINT).
    2. tgt-temp: This is to set the target temperature in heat-only (SINGLE POINT) mode.
    3. min-temp: This is to set the lower bound (heating threshold) temperature in dual (DUAL POINT) mode.
    4. max-temp: This is to set the upper bound (cooling threshold) temperature in dual (DUAL POINT) mode.
    5. heater-on: This feed is where the status of the heater is published.
    6. curr-temp: This feed is where the current temperature is published.
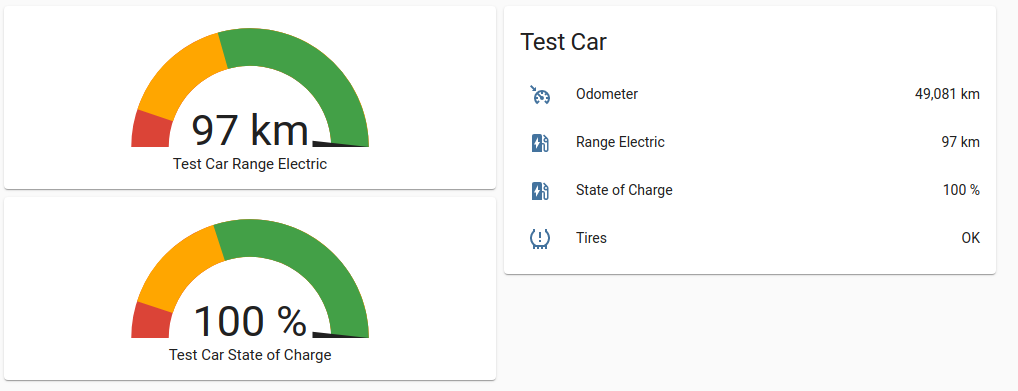
  3. You can try creating a IO Dashboard so see some of the things. Here is a picture of how mine looks.

This image shows how the Adafruit IO Dashboard for the thermostat looks.

Homebridge Plugin

My ultimate goal was to integrate with HomeKit so I wrote a Homebridge plugin that talks to Adafruit IO to send commands to the thermostat. Find it here.

You might also like...
Python application, displaying currently played track from Spotify on OLED display connected via I2C

RaspberryPi Spotify OLED Display This application will display currently played track on SSD1306 OLED display connected to RaspberryPi. Displayed stuf

Home Assistant integration for energy consumption data from UK SMETS (Smart) meters using the Hildebrand Glow API.

Hildebrand Glow (DCC) Integration Home Assistant integration for energy consumption data from UK SMETS (Smart) meters using the Hildebrand Glow API. T

Smart EQ connect - Custom Integration for Home Assistant

Smart EQ Connect platform as a Custom Component for Home Assistant.

Turns a compatible Raspberry Pi device into a smart USB drive for PS4/PS5.

PSBerry A WIP project for Raspberry Pi, which turns a compatible RPI device into a smart USB drive for PS4/PS5. Allows for save management of PS4 game

Smart Tech Automation Remote via Kinematics Gesture control for IoT devices

STARK Smart Tech Automation Remote via Kinematics Gesture control for IoT devices View Demo · Report Bug · Request Feature Table of Contents About The

Scapy: the Python-based interactive packet manipulation program & library. Supports Python 2 & Python 3.

Scapy Scapy is a powerful Python-based interactive packet manipulation program and library. It is able to forge or decode packets of a wide number of

LedFx is a network based LED effect controller with support for advanced real-time audio effects

Welcome to LedFx ✨ -Making music come alive! LedFx website: https://ledfx.app/ What is LedFx? What LedFx offers is the ability to take audio input, an

LT-OCF: Learnable-Time ODE-based Collaborative Filtering, CIKM'21

LT-OCF: Learnable-Time ODE-based Collaborative Filtering Our proposed LT-OCF Our proposed dual co-evolving ODE Setup Python environment for LT-OCF Ins

Event-based hardware simulation framework

An event-based multi-device simulation framework providing configuration and orchestration of complex multi-device simulations.

Owner
Shubham Chaudhary
PhD student at the Department of Computer Science at Cornell University.
Shubham Chaudhary
SALUS THERMOSTAT Custom component for Home-Assistant

Home-Assistant Custom Components Custom Components for Home-Assistant (http://www.home-assistant.io) Salus Thermostat Climate Component My device is R

null 21 Dec 18, 2022
Sleep Functionality for Adafruit MacroPad RP2040

Adafruit-MacroPad-RP2040 Sleep Functionality for Adafruit MacroPad RP2040 Details This is a modification of AdaFruit project bundle found here specifi

null 9 Dec 18, 2022
New armachat based on Raspberry Pi PICO an Circuitpython code

Armachat-circuitpython New Armachat based on Raspberry Pi PICO an Circuitpython code Software working features: send message with header and store to

Peter Misenko 44 Dec 24, 2022
A Macropad using the Raspberry Pi Pico, programmed with CircuitPython.

A Macropad using the Raspberry Pi Pico, programmed with CircuitPython.

null 15 Oct 14, 2022
Raspberry Pi Pico and LoRaWAN from CircuitPython

Raspberry Pi Pico and LoRaWAN from CircuitPython Enable LoRaWAN communications on your Raspberry Pi Pico or any RP2040-based board using CircuitPython

Alasdair Allan 15 Oct 8, 2022
CircuitPython library for the CH559 USB to Serial chip

CH559 (USB to Serial) CircuitPython Library Why? Because you might want to get keyboard/mouse/gamepad/HID input into your CircuitPython projects witho

Guy Dupont 3 Nov 19, 2022
circuitpython version of PyBasic for microcontrollers

cPyBasic Circuitpython version of PyBasic for microcontrollers Current version work only for Adafruit titano & CardKB for now. The origninal PyBasic w

BeBoXoS 3 Nov 14, 2021
A Python program that makes it easy to manage modules on a CircuitPython device!

CircuitPython-Bundle-Manager-v2 A Python program that makes it easy to manage modules on a CircuitPython device! The CircuitPython Bundle Manager v2 i

Ckyiu 1 Dec 18, 2021
Hourglass on the pi pico using circuitpython

hourglass-on-pico "Hourglass" on the raspberry pi pico using circuitpython circuitpython version 7.0.0 Components used: Raspberry Pi Pico ADXL345 acce

null 4 Jul 18, 2022
SPI driven CircuitPython driver for PCA9745B constant current LED driver.

Introduction THIS IS VERY MUCH ALPHA AND IN ACTIVE DEVELOPMENT. THINGS WILL BREAK! THIS MAY ALSO BREAK YOUR THINGS! SPI driven CircuitPython driver fo

Andrew Ferguson 1 Jan 14, 2022