Segger Embedded Studio project for building & debugging Flipper Zero firmware.

Overview

Segger Embedded Studio project for Flipper Zero firmware

Установка

  1. Добавить данный репозиторий в качестве сабмодуля в корень локальной копии репозитория flipperzero-firmware
git submodule add https://github.com/hedger/flipperzero-sesproject.git sesproject
git submodule update --init --recursive

Зависимости

  1. Установить Segger Embedded Studio for ARM
  2. Установить gcc-arm-eabi-none
  3. Скачать OpenOCD и добавить в PATH
  4. Python 2+ для скрипта автоматического обновления версии сборки

Начальная конфигурация SES

  1. Tools > Options > Building:

    1. Toolchain Root Directory установить в путь распакованного тулчейна + /bin (например, E:/tools/GNU Arm Embedded Toolchain/10 2021.10/bin)
    2. Parallel Building Threads = число ядер процессора
  2. Tools > Options > Environment > User Interface:

    1. Application Main Font + Application Monospace Font поправить на удобные значения
    2. Theme = Dark / Operating System Default
  3. Tools > Options > Languages:

    Для всех языков установить Indent Size и Tab Size в 4

  4. Tools > Options > Text Editor:

    1. Formatting > Use .clang-format file = Yes (ВАЖНО! Позволяет форматировать код по кодстайлу нажанием ctrl+k ctrl+f)

    2. Formatting > Formatting Indent Size = 4

    3. Visual Appearance > Font = по вкусу

    4. Visual Appearance > Line Numbers = All lines

Настройки сборки

SES использует концепцию "конфигураций" для формирования окончательных настроек солюшена. Конфигурации бывают публичные и приватные:

  • Приватные содержат фрагмент настроек - опции компилятора, отладчика и т.д.;
  • Публичные наследуют одну или несколько приватных конфигураций и собирают воедино настройки из них.

Также в солюшене практически все его части - сам солюшен, отдельные проекты, отдельные папки и файлы в проекте - могут оверрайдить настройки под конкретную конфигурацию, публичную или приватную.

Данный солюшен поставляется с несколькими приватными конфигрурациями:

  • Конфиги под аппаратную ревизию Флиппера - F6 или F7
  • Конфиги релизной и отладочной сборки
  • Конфиги отладки через JLink и gdb/OpenOCD

...и двумя публичными, Release и Debug, в которых изначально выбран F7 и OpenOCD.

Настроить публичные конфигурации можно в меню Projects > Build Configurations, изменив чекбоксы у приватных конфигураций.

Отладка и прошивка из SES

  • Для сборки и загрузки прошивки в Флиппер под отладкой: F5 (Debug > Go).

  • Для подключения к Флипперу с уже работающей прошивкой: Ctrl+T, H (Target > Attach Debugger)

  • Для отключения отладки: Ctrl+T, D (Target > Disconnect)

NB: В случае использования подключения через OpenOCD, при остановке отладки SES преждевременно убивает сервер gdb, из-за чего Флиппер остаётся приостановленным. Для обхода этой проблемы можно запускать OpenOCD с помошью scripts/start_gdb_openocd.cmd - SES при запуске отладки подключится к нему, а не будет запускать свой инстанс сервера. При отключении отладки этот инстанс OpenOCD не убивается SES, поэтому продолжение работы устройства корректно срабатывает. Подобной проблемы при подключении через JLink нет.

Скрипты

Для прошивки firmware и bootloader без использования SES подготовлены скрипты в папке scripts. Для записи используется сборка под таргет f7. Запись выполняется через OpenOCD, необходимо его наличие в PATH.

Прочее

  • Солюшен автоматически загружает все необходимые файлы с кодом при загрузке. Однако, если создать файл в файловой системе во время работы IDE, необходимо синхронизировать дерево солюшена: Project > Reload Flipper.

  • Файл проекта flipperzero.emSession - простой XML, многие опции проще править руками прямо в нём, чем разбираться с выбором конфигурации в интерфейсе SES.

  • Дефайны для firmware с флагами и выбором приложений редактируются либо прямо в файле проекта, либо через SES:

    • выбрать проект в дереве солюшена, открыть свойства;
    • выбрать конфигурацию "Common";
    • отредактировать Code > Preprocessor > Preprocessor Definitions.
You might also like...
The main aim of this project is to avoid the accidents in shredding ( Waste Recycling Industry )

shredder-Machine-Hand-Safety The main aim of this project is to avoid the accidents in shredding ( Waste Recycling Industry ) . The Basic function of

The goal of this project is for anyone with an old printer to be able to double-sided printing.

Welcome to PDF-double-side! Hi! I'm 15. I have a old printer so I can't print double-sided outs. The goal of this project is for anyone with an old pr

A LiteX project which builds a SoC with DRAM / HDIM output via the GPDI SYZYGY addon.

ButterStick GPDI LiteX demo A LiteX project which builds a SoC with DRAM / HDIM output via the GPDI SYZYGY addon. Getting started Connect GPDI board t

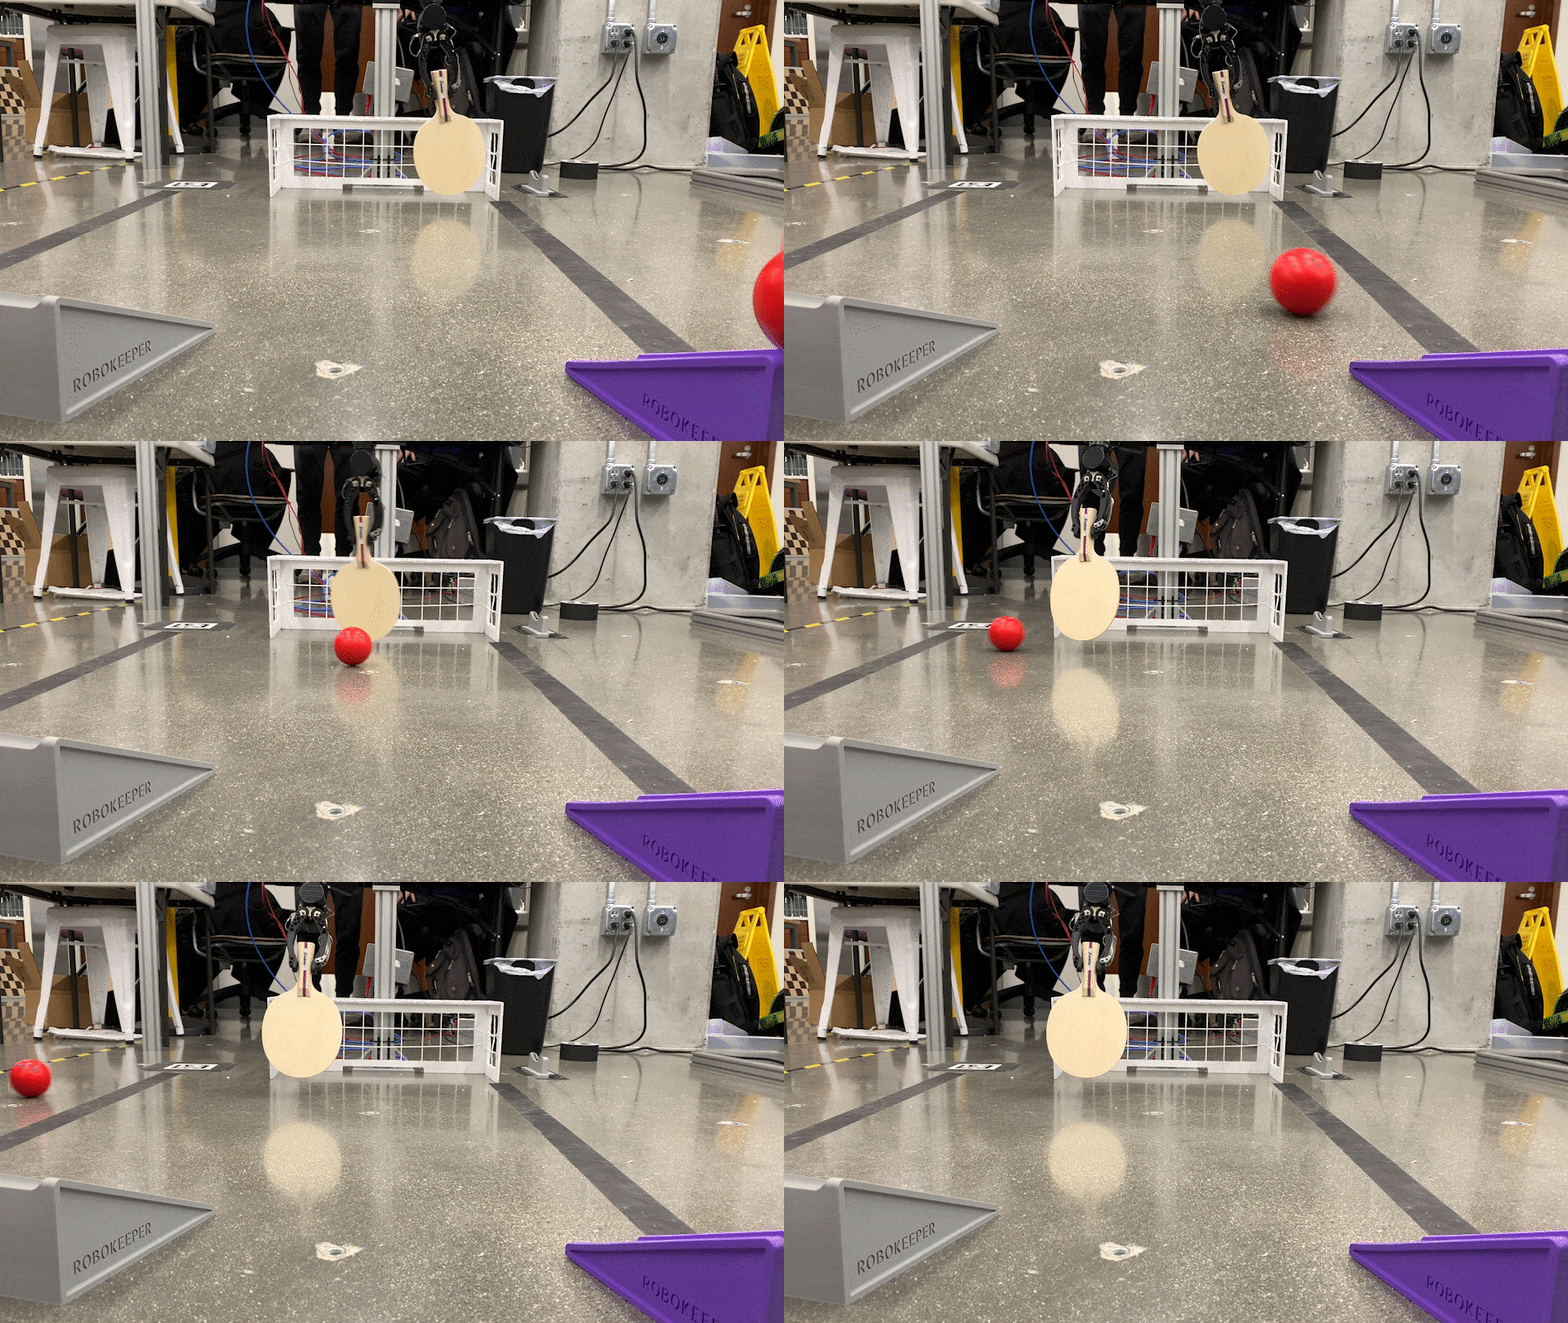
Final-project-robokeeper created by GitHub Classroom

RoboKeeper! Jonny Bosnich, Joshua Cho, Lio Liang, Marco Morales, Cody Nichoson Demonstration Videos Grabbing the paddle: https://youtu.be/N0HPvFNHrTw

AERO 421: Spacecraft Attitude, Dynamics, and Control Final Project.

AERO - 421 Final Project Redevelopment Spacecraft Attitude, Dynamics, and Control: Simulation to determine and control a satellite's attitude in LEO.

A DiY holiday project to demonstrate how you can send data from adafruitIO cloud to a balena edge device

holiday-star balena ❤️ adafruitIO Introduction A DiY holiday project to demonstrate how you can send data from adafruitIO cloud to a balena edge devic

A ESP32 project template with a web interface built in React

ESP AP Webserver demo.mp4 This is my experiment with "mobile app development" for the ESP32. The project consists of two parts, the ESP32 code and the

CO2Ampel - This RaspberryPi project uses weather data to estimate the share of renewable energy in the power grid

CO2Ampel This RaspberryPi project uses weather data to estimate the share of ren

ArucoFollow - A script for Robot Operating System and it is a part of a project Robot

ArucoFollow ArucoFollow is a script for Robot Operating System and it is a part

Comments
  • Invalid/Outdated App Flags in Debug/Release Configs

    Invalid/Outdated App Flags in Debug/Release Configs

    I had an issue where the Infrared app was missing, so I took the whole list and compared it against the applications.mk and found a few more discrepancies. Some of them may be intended like the extras, but the typos and other items will need some adjusting.

    App vs Debug Config image

    App vs Release Config image

    opened by Zagrophyte 1
  • NameError: name 'FileNotFoundError' is not defined

    NameError: name 'FileNotFoundError' is not defined

    python 2.x does not have FileNotFoundError and running version.py script with python 2.7 fails so it may make sense to change python version to 3+ in readme

    opened by vostrenkov 1
Owner
null
Tools and documentation to aid in modifying the ADI ADALM Pluto firmware

Pluto firmware modifications This repository contains tools and documentation to aid in modifying the ADI ADALM Pluto firmware. Extraction of the Plut

Daniel Estévez 28 Dec 21, 2022
Monitor an EnvisaLink alarm module running Honeywell firmware, and set a Nest device to Home/Away depending on whether the alarm is Disarmed/Away.

Nestalarm Monitor an EnvisaLink alarm module running Honeywell firmware, and set a Nest device to Home/Away depending on whether the alarm is Disarmed

null 1 Dec 30, 2021
Brogrammer-keyboard - FIrmware for the Brogrammer Keyboard v1.0

Brogrammer Keyboard Firmware The package contains the firmware that runs on the Brogrammer Keyboard v1.0 See https://imgur.com/a/oY5QZ14 This keyboard

Devin Hartleben 1 Apr 21, 2022
An embedded application for toy-car controlling based on Raspberry Pi 3 Model B and AlphaBot2-Pi.

An embedded application for toy-car controlling based on Raspberry Pi 3 Model B and AlphaBot2-Pi. This is the source codes of my programming assignmen

StardustDL 4 Oct 19, 2022
Create a low powered, renewable generation forecast display with a Raspberry Pi Zero & Inky wHAT.

GB Renewable Forecast Display This Raspberry Pi powered eInk display aims to give you a quick way to time your home energy usage to help balance the g

Andy Brace 32 Jul 2, 2022
E-Ink Magic Calendar that automatically syncs to Google Calendar and runs off a battery powered Raspberry Pi Zero

E-Ink Magic Calendar that automatically syncs to Google Calendar and runs off a battery powered Raspberry Pi Zero

null 2.8k Dec 30, 2022
Example Python code for building RPi-controlled robotic systems

RPi Example Code Example Python code for building RPi-controlled robotic systems These python files have been compiled / developed by the Neurobionics

Elliott Rouse 2 Feb 4, 2022
The project is an open-source and low-cost kit to get started with underactuated robotics.

Torque Limited Simple Pendulum Introduction The project is an open-source and low-cost kit to get started with underactuated robotics. The kit targets

null 34 Dec 14, 2022
Cascade Drone Swarm Physical Demonstration Project

Cascade Drone Swarm Physical Demonstration Project Table of Contents About The Project Built With Getting Started Prerequisites Installation About The

null 3 Aug 24, 2022
A simple Picobot project implemented in Python

Python-Picobot A simple Picobot project implemented in Python About Explanation This is my first programming project. Picobot use rules.txt file which

Shayan Shiravani 0 Apr 3, 2022