Homeautomation system created with Raspberry Pi 3 and Firebase.

Overview

Homeautomation System - Raspberry Pi 3

SmartHome

Desenvolvido com Python, Flask com AJAX e Firebase permite o controle local e remoto

Itens necessários

  • Raspberry Pi3 Modelo B
  • Relé
  • 1 dispositivo para ser controlado (Usei uma lâmpada, mas pode ser qualquer outro)
  • Jumpers
  • Sensores (Se quiser melhorar ainda mais)

Getting start

Cenário 1: Clonar e executar
Cenário 2: Criar sua própria app seguindo o passo a passo

Clonar e executar

1. Instalação do sistema operacional

Se o seu Rasp for novo acompanhe o seguinte manual para instalação e configuração:
Instalação do SO Ou acompanhe o minicurso do Curso em vídeo

2. Conexõs físicas

Desligue seu Rasp antes de continuar para evitar danos.
Faça um esquema no Fritzing para definir qual pino será usado em qual dispositivo. Como na figura:
Esquema -O pino com conexão vermelha é o VCC, alimenta com 5V
-O pino com conexão preta é o GND (terra)
-O pino com conexão amarela é o 13 (GPIO), o que vamos conectar ao dispositivo a ser controlado
-O relé contém módulos, estamos utilizando o primeiro, atenção no processo das conexões para não danificar o Rasp nem causar mal funcionamento.
Para saber mais sobre as GPIO consulte Raspberry Pi GPIO

3. Instale o git com o comando

apt install git

4. Clone este repositório com

git clone https://github.com/joselinosantosti/homeautomation-raspberrypi.git

5. Execute a aplicação com o comando

python app.py

6. Acesse o browser e digite

localhost:5000
Faça o login com admin admin e teste seus dispositivos

Projeto Step by step

Realize os passos 1 e 2 se ainda não realizou, são pré-requisitos

1. Criando virtualenv e instalando os pacotes necessários

Abra o terminal e digite os comandos:
sudo su(digite a senha)
apt-get update && apt-get upgrade
apt install virtualenv

Crie o virtualenv com o comando
virtualenv venv

Instale o flask
pip install flask

2. Estruturando o projeto Flask

Crie uma pasta com o nome smarthome ou outro que achar mais conveniente.
Crie as subpastas
-static (para arquivos de imagens, estilos css e Javascript)
-templates (para os arquivos html)
-models
Crie o arquivo app.py e adicione os códigos para as rotas de acordo com seu projeto. A seguinte rota aceita os método GET e POST e retorna a renderização da página index.html que por sua vez tem uma lógica para incorporar o código html da página lighting.html presente na pasta templates.

def lighting():
	return render_template('index.html', module='lighting')

Arquivo html com os inputs Crie um formulário que chama outra rota e com os inputs que achar convenientes. O csrf_token é obrigatório nos formulários Flask.

Classe Device Crie um arquivo com o nome Device e adicione a classe:

gpio.setmode(gpio.BOARD)

class Device:
def __init__(self, pino, status):
    self.pino = pino
    self.status = status

    gpio.setup(self.pino, gpio.OUT)
    gpio.output(self.pino, self.status)

Com essa classe reaproveitamos o código para controlar uma grande quantidade de dispositivos de forma simples e enxuta.

3. Controlando dispositivos com AJAX

No seu arquivo principal importe a classe com o código:
from models.Device import Device
Crie um arquivo scripts.js na pasta /static/js e adicione o código AJAX

{ slider.addEventListener("click", (e) => { const pino = slider.getAttribute("name") control(pino) }) }) })">
$(document).ready(function() {
    function control(pino) {

        $.ajax({
            url: `/control/${pino}`,
            data: $('form').serialize(),
            type: 'POST',
            success: (response) => {
                console.log(response)
            },
            error: (error) => {
                console.log(error)
            }
        })
    }
   //Selecionar todos os inputs e adicionar evento de click
    document.querySelectorAll(".device").forEach(slider => {
        slider.addEventListener("click", (e) => {
            const pino = slider.getAttribute("name")
            control(pino)
          })
    })
})

É um código AJAX convencional. A cada clique no botão do dispositivo é capturado o name(numero do pino) e executada a função control() passando o valor capturado como parâmetro

O código AJAX chama a rota '/control' passando o valor como parâmetro para ser usado no código Python.

Código Python
O seguinte código recebe a requisição via AJAX, instancia a classe Dispositivo passando o pino e ação. Em seguida retorna os dados para fins de debug.

", methods=['GET','POST']) def control(pino): status = 1 if len(request.form) > 1 else 0 dev = Device(pino, status) response = {'response': 200, 'pino': pino, 'status': status} return response">
@app.route("/control/
    
     ", methods=['GET','POST'])
def control(pino):
	status = 1 if len(request.form) > 1 else 0
	dev = Device(pino, status)
	response = {'response': 200, 'pino': pino, 'status': status}
	return response


A lógica da variável status retorna 1 se o resultado da requisição for maior que 1, o que só ocorre quando o resultado do input for positivo, no caso do checkbox desmarcado nada será retornado além do csrf_token. Desse modo saberemos que o campo está desmarcado e retorna status = 0.

Conexão com Firebase e controle via Internet

...

You might also like...
A versatile program that uses the raspberry pi camera and provides it as a service

PiCameleon Is a daemon program meant to provide the RaspberryPi Camera as a service while running according to a configuration.

Monorepo for my Raspberry Pi dashboard and GPS satellite listener.

🥧 pi dashboard My blog post: Listening to Satellites with my Raspberry Pi This is the monorepo for my Raspberry Pi dashboard!

KIRI - Keyboard Interception, Remapping, and Injection using Raspberry Pi as an HID Proxy.

KIRI - Keyboard Interception, Remapping and Injection using Raspberry Pi as a HID Proxy. Near limitless abilities for a keyboard warrior. Features Sim

Using a raspberry pi, we listen to the coffee machine and count the number of coffee consumption

A typical datarootsian consumes high-quality fresh coffee in their office environment. The board of dataroots had a very critical decision by the end of 2021-Q2 regarding coffee consumption.

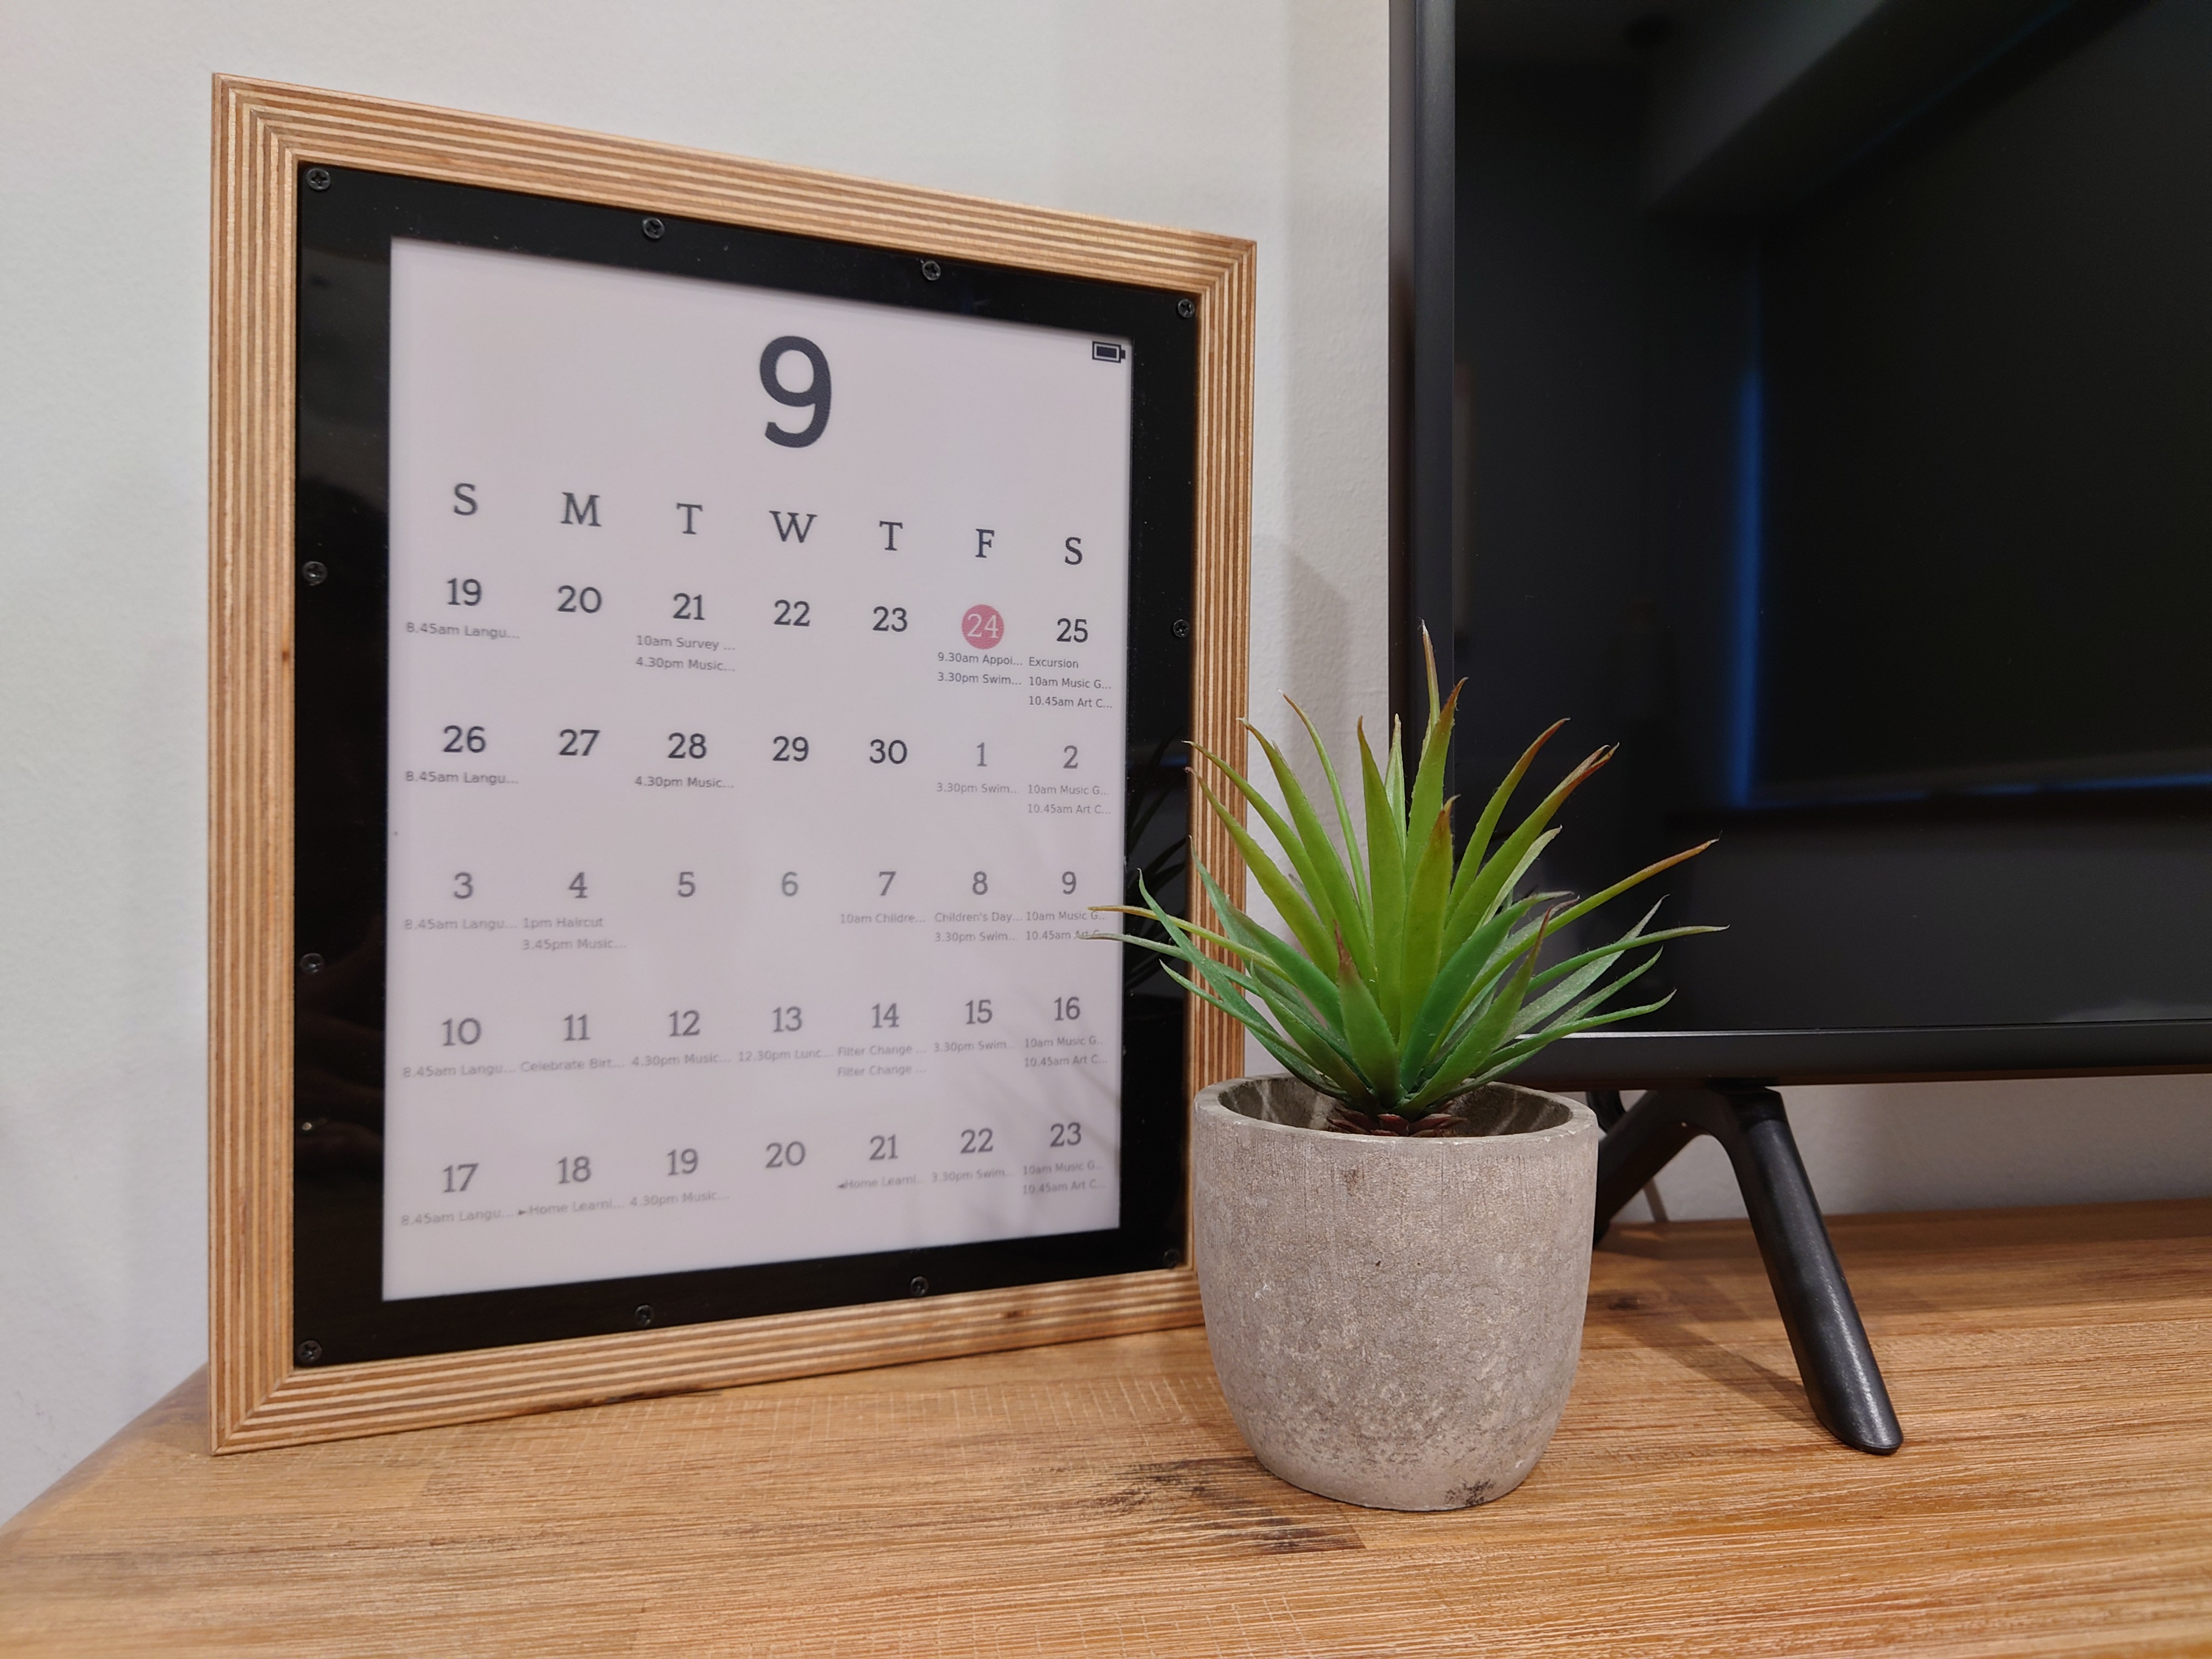
E-Ink Magic Calendar that automatically syncs to Google Calendar and runs off a battery powered Raspberry Pi Zero

E-Ink Magic Calendar that automatically syncs to Google Calendar and runs off a battery powered Raspberry Pi Zero

Automate gate/garage door opening via 433.92MHz emitter with Raspberry Pi, Home Assistant and Homekit.

Automate opening your garage door / gate Summary This project sums up how I automated opening my garage door using a Raspberry PI, a 433Mhz emitter, H

🔆 A Python module for controlling power and brightness of the official Raspberry Pi 7

rpi-backlight A Python module for controlling power and brightness of the official Raspberry Pi 7" touch display. Note: This GIF was created using the

Home solar infrastructure (with Peimar Inverter) monitoring based on Raspberry Pi 3 B+ using Grafana, InfluxDB, Custom Python Collector and Shelly EM.

raspberry-solar-mon Home solar infrastructure (with Peimar Inverter) monitoring based on Raspberry Pi 3 B+ using Grafana, InfluxDB, Custom Python Coll

A install script for installing qtile and my configs on Raspberry Pi OS

QPI OS - Qtile + Raspberry PI OS Qtile + Raspberry Pi OS :) Installation Run this command in the terminal

Owner
Joselino Santos
Web Developer | Data Analyst
Joselino Santos
An open source operating system designed primarily for the Raspberry Pi Pico, written entirely in MicroPython

PycOS An open source operating system designed primarily for the Raspberry Pi Pico, written entirely in MicroPython. "PycOS" is an combination of the

null 8 Oct 6, 2022
A rubiks cube timer using a distance sensor and a raspberry pi 4, and possibly the pi pico to reduce size and cost.

distance sensor cube timer A rubiks cube timer using a distance sensor and a raspberry pi 4, and possibly the pi pico to reduce size and cost. How to

null 3 Feb 21, 2022
This repository hosts the code for Stanford Pupper and Stanford Woofer, Raspberry Pi-based quadruped robots that can trot, walk, and jump.

This repository hosts the code for Stanford Pupper and Stanford Woofer, Raspberry Pi-based quadruped robots that can trot, walk, and jump.

Stanford Student Robotics 1.2k Dec 25, 2022
Mycodo is open source software for the Raspberry Pi that couples inputs and outputs in interesting ways to sense and manipulate the environment.

Mycodo Environmental Regulation System Latest version: 8.12.9 Mycodo is open source software for the Raspberry Pi that couples inputs and outputs in i

Kyle Gabriel 2.3k Dec 29, 2022
Code and build instructions for Snap, a simple Raspberry Pi and LED machine to show you how expensive the electricyty is at the moment

Code and build instructions for Snap, a simple Raspberry Pi and LED machine to show you how expensive the electricyty is at the moment. On row of LEDs shows the cost of the hour, the other row the cost of the day.

Johan Jonk Stenström 3 Sep 8, 2022
Minimal and clean dashboard to visualize some stats of Pi-Hole with an E-Ink display attached to your Raspberry Pi

Clean Dashboard for Pi-Hole Minimal and clean dashboard to visualize some stats of Pi-Hole with an E-Ink display attached to your Raspberry Pi.

Alessio Santoru 104 Dec 14, 2022
A global contest to grow and monitor your own food with Raspberry Pi

growlab A global contest to grow and monitor your own food with Raspberry Pi A capture from phototimer of my seed tray with a wide-angle camera positi

Alex Ellis 442 Dec 23, 2022
A Raspberry Pi Pico powered Macro board, like a Streamdeck but cheaper and simpler.

Env-MCRO A Raspberry Pi Pico powered Macro board, like a Streamdeck but cheaper and simpler. (btw this image is a bit outdated, some of the silkscreen

EnviousData 68 Oct 14, 2022
Raspberry Pi Pico and LoRaWAN from CircuitPython

Raspberry Pi Pico and LoRaWAN from CircuitPython Enable LoRaWAN communications on your Raspberry Pi Pico or any RP2040-based board using CircuitPython

Alasdair Allan 15 Oct 8, 2022
a weather application for the raspberry pi and the Pimorioni Inky pHAT.

raspi-weather a weather application for the raspberry pi and the Inky pHAT

Derek Caelin 59 Oct 24, 2022